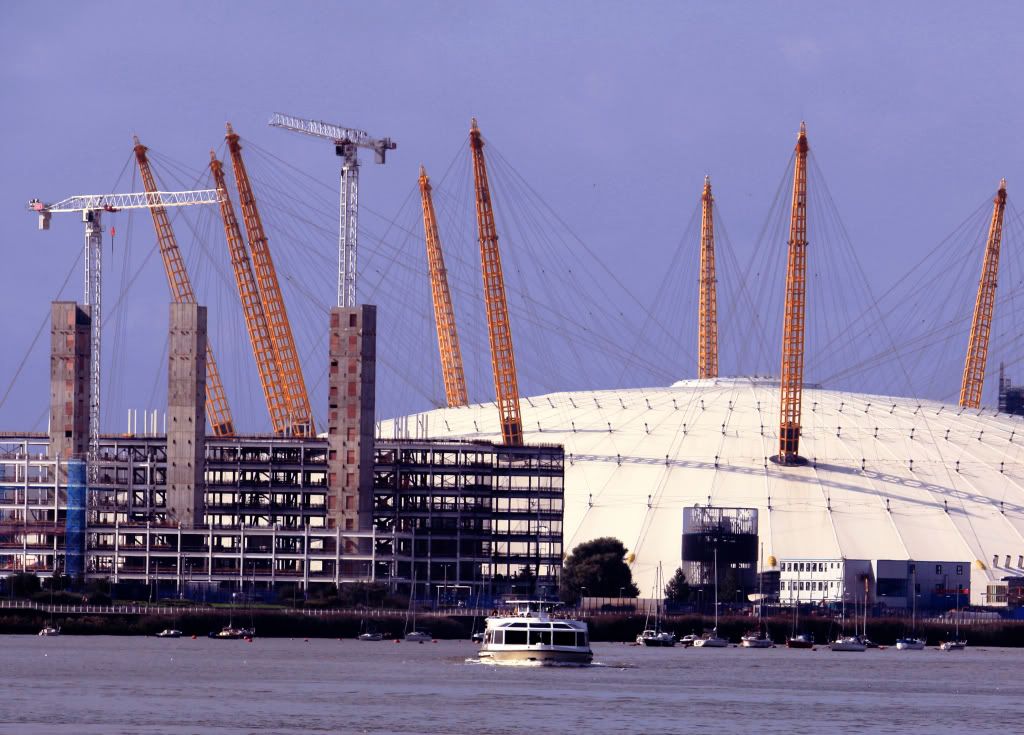
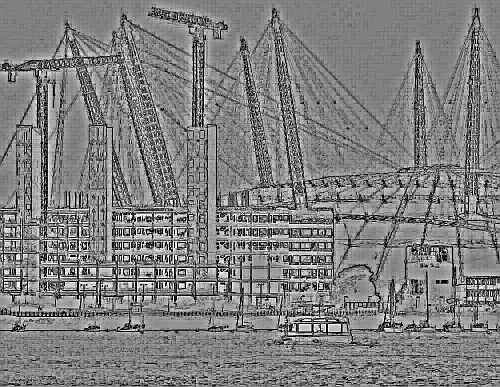
Really easy steps, just playing around with adjustment layers. Here's the steps (yes, I'm a great fan of adjustment layers, they're really awsome):
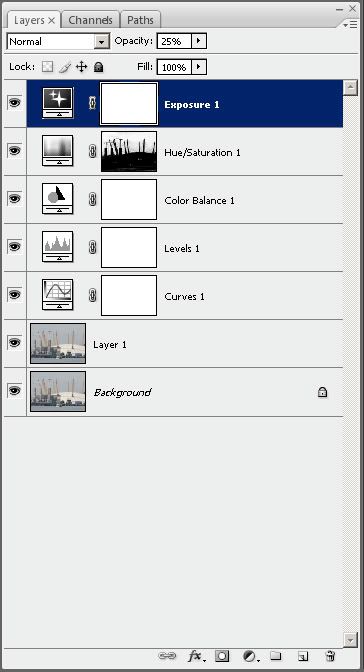
- Duplicate background layer (you should always do)
- A curve adjustment layer
- Levels adjustment layer
- Color balance adjustment layer
- Masking out the sky (mix of sampling color range and quick mask), added a hue/saturation adjustment layer to the masked out part
- A little exposure change
- Cropped the image (was thinking of editing out the obstruction, but with only a touch pad available I figured cropping was a bit easier)
Took a print screen of my layers palette to make my explanation clearer:


 LinkBack URL
 About LinkBacks


 Reply With Quote


Bookmarks