
 LinkBack URL
 About LinkBacks


Nice to see the set of RAWS - they all have a similar cast so if you follow a corrective workflow on 1 image, all images should correct in a very similar fashion.
Key Question at this point - How do those raw files look on your particular monitor? What colour cast do they show, or do they look good?
If they look good.....then I'd suggest your monitor needs serious calibration.
If you see a cast then RM suggested a wonderful recipe for neutralizing that cast.
Maybe try 1 shot and see if you can neutralize it with that recipe. Imo these strong images are well worth correcting. I too really dig those swing shots.


 - Please connect with me further
 Reply With Quote
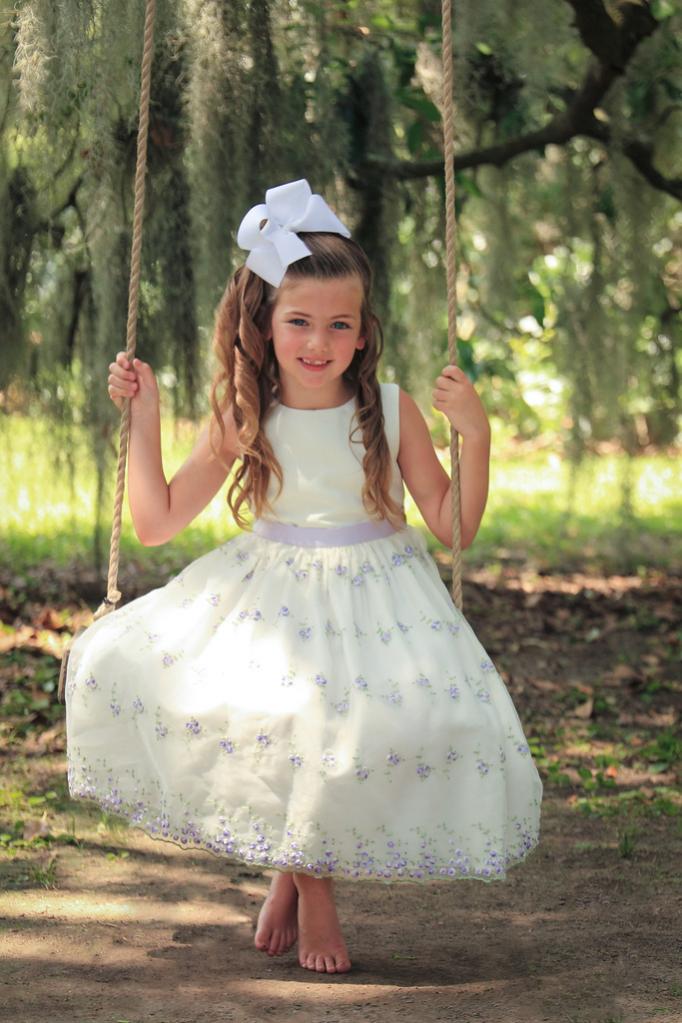


Bookmarks