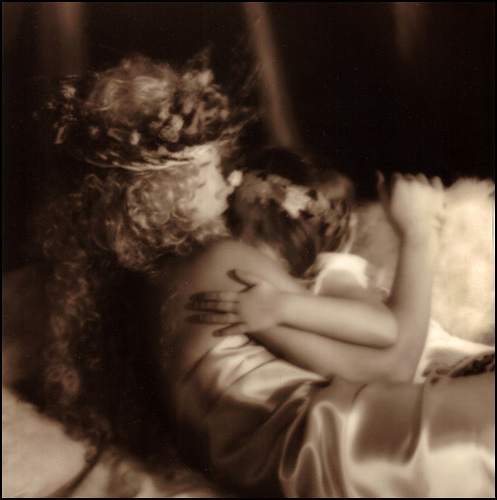
To add a certain nostalgic effect to photos, many fine art photographers‚ enjoy changing the colour of the photograph or actually toning the print to sepia. Using the darkroom to achieve your sepia effect is an option if you have the facilities available. If not, you have two other options — an in camera option on many DSLRs and good old photoshop.

Venus and Cupid by Marko Kulik — This image was printed in the darkroom and then toned in a sepia bath to get this rich brown colour.
![]()
Many digital cameras now offer you the option of taking the image in sepia (and other tones as well like blue, red, green etc.) This is quick and efficient for immediate results. It does have it’s limitations though, like losing all of the colour information in the image. This is why most photographers like to ‘play around’ with their photo in photoshop.
Photoshop not only allows the option of converting to sepia, but it further allows a whole range of brown/orange tones to choose from. Some artists prefer a more muted sepia, while others prefer it to appear more drastic. Either way, there is really a vast array of tones to choose from.
Whatever the method, just make sure of one thing — save an original copy of your photo just in case you decide that sepia wasn’t for you after all.
Here’s the link from our Photography forum


