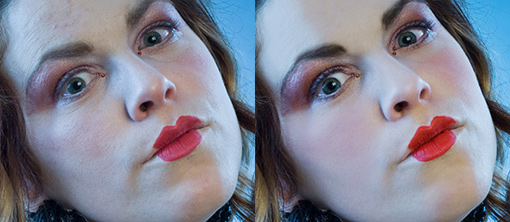
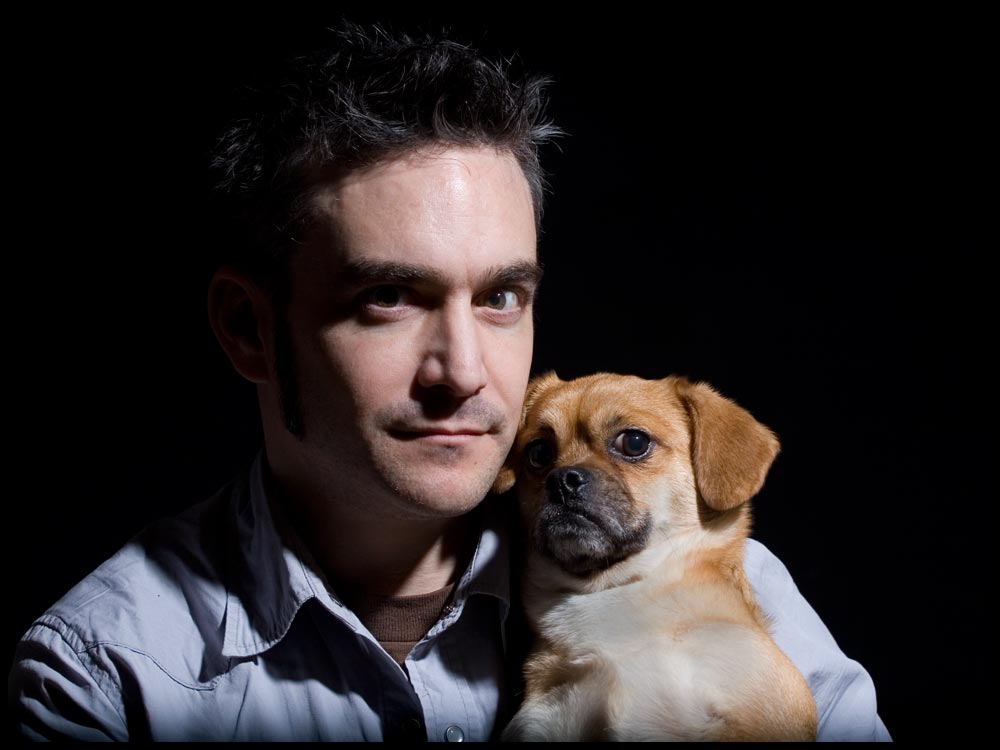
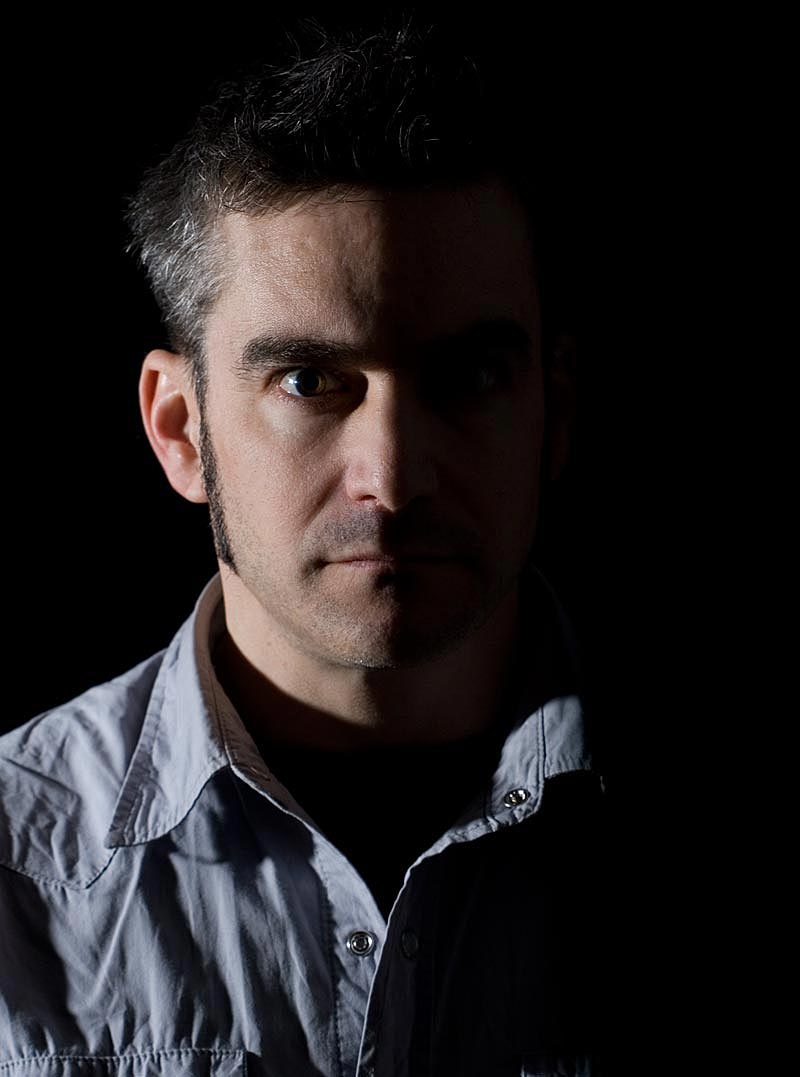
Photography podcast #38 talks about creating dramatic portraits using only 1 light. Using 1 light creates very harsh shadows which is PERFECT for a dramatic portrait. The following 2 shots illustrate this dramatic effect. In the first shot Lorne and Boog are being lit by 1 light located 45 degrees toward the right. The second shot is sidelight. Both these shots use no reflector to bounce light back into the subjects’ faces. Note that the light in the second photograph reveals a lot of skin texture, so this type of lighting would not be good for a ‘fashiony’ shot in most cases. Thanks to Lorne and Boog for being the models. I Love how little Boog is staring me down in the first shot. You can click all the shots to make them tastier on the eyes.
‚
You can download this photography podcast directly by clicking the preceding link or listen to it almost immediately with the embedded player below this image.
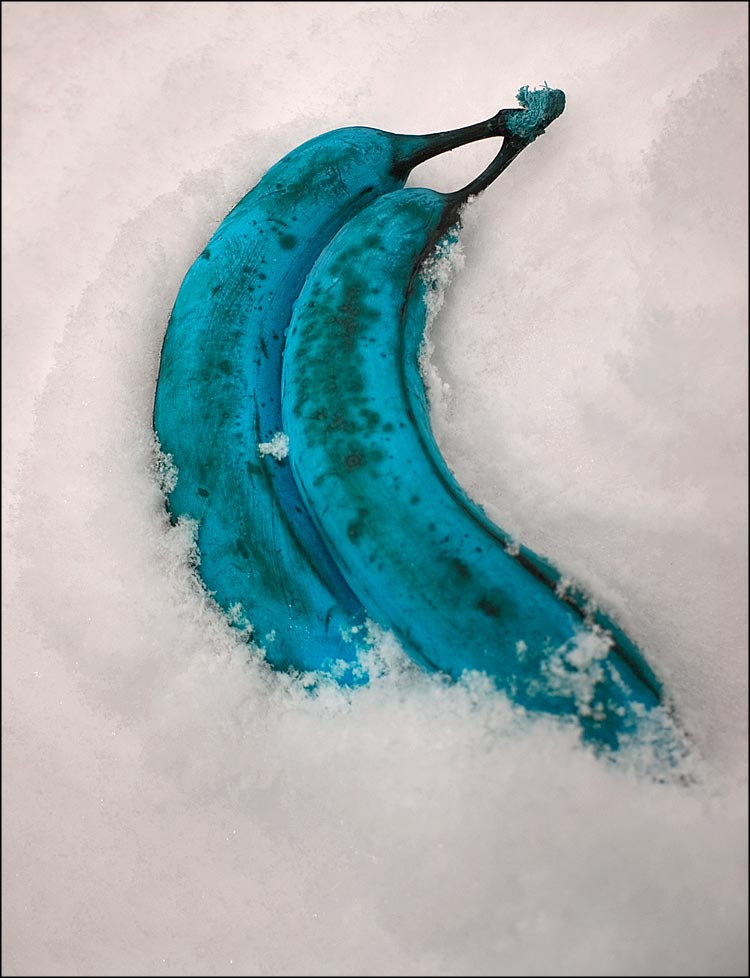
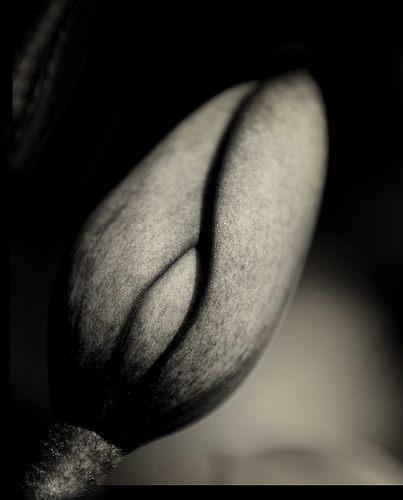
Photo of the week
This week, the photograph is by Zseike and I comment in the podcast on why I think this photograph is fantastic.
Thanks as always for the comments by‚Gary H, ‚Andre, Tom, Yves Janse, David and Mikael. We LOVE comments and suggestions so please send more.
Podcast: Play in new window | Download