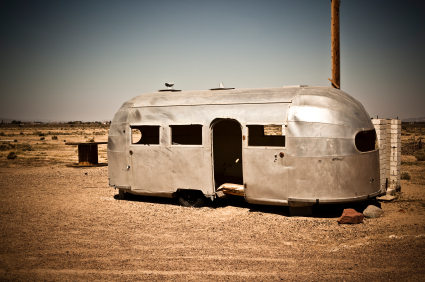
How to make a perfect Vignette‚¦ add 1 cup oil to ‚½ cup vinegar, dash with‚¦ now wait a minute. Not Vinaigrette. VIGNETTE. It’s the amazing effect of having the central portion of the image showing while the rest of the image is darkened. Photographers can apply this effect to their photos to add more emphasis to their subject.

![]()
Photoshop provides numerous methods to master the vignette. Want some insight? You can use an elliptical marquee tool, inverse the selection, and blur the four corners. You can also brighten or darken the four corners by working with the level balance on the inversed selection. Lens correction (Filter ‚” Distort) also works well for adding a vignette. These are only two methods, but there are certainly more.
But what about those who prefer working in a darkroom to achieve their artistic photo effects? In the darkroom, this is done by holding an opaque material with a circle or oval cut-out during the exposure.
Either way, a vignette can add drama or even soften a photograph all at once. The possibilities are endless.
FORUM LINK: http://www.photography.ca/Forums/showthread.php?p=17647


I’d caution against a small vignette with just tiny dark corners — I can look like a common mistake when you’ve got a too-big lens hood or one too many filters on your lens. If you are going to add a vignette, go big.
Of course, adding a big one is a great way to hide a small one created by the above mistake